OK, I had some people questioning me how this should be done so here is a quick guide on how to do it for you.
This guide is not perfect as you could need different help and resources for the things you want to make, so rather see this as a quick guide then a full manual.
I will just use the example of the NC-skins here btw, a link to the .pk3 is listed below.
Step 1: Creating the logo
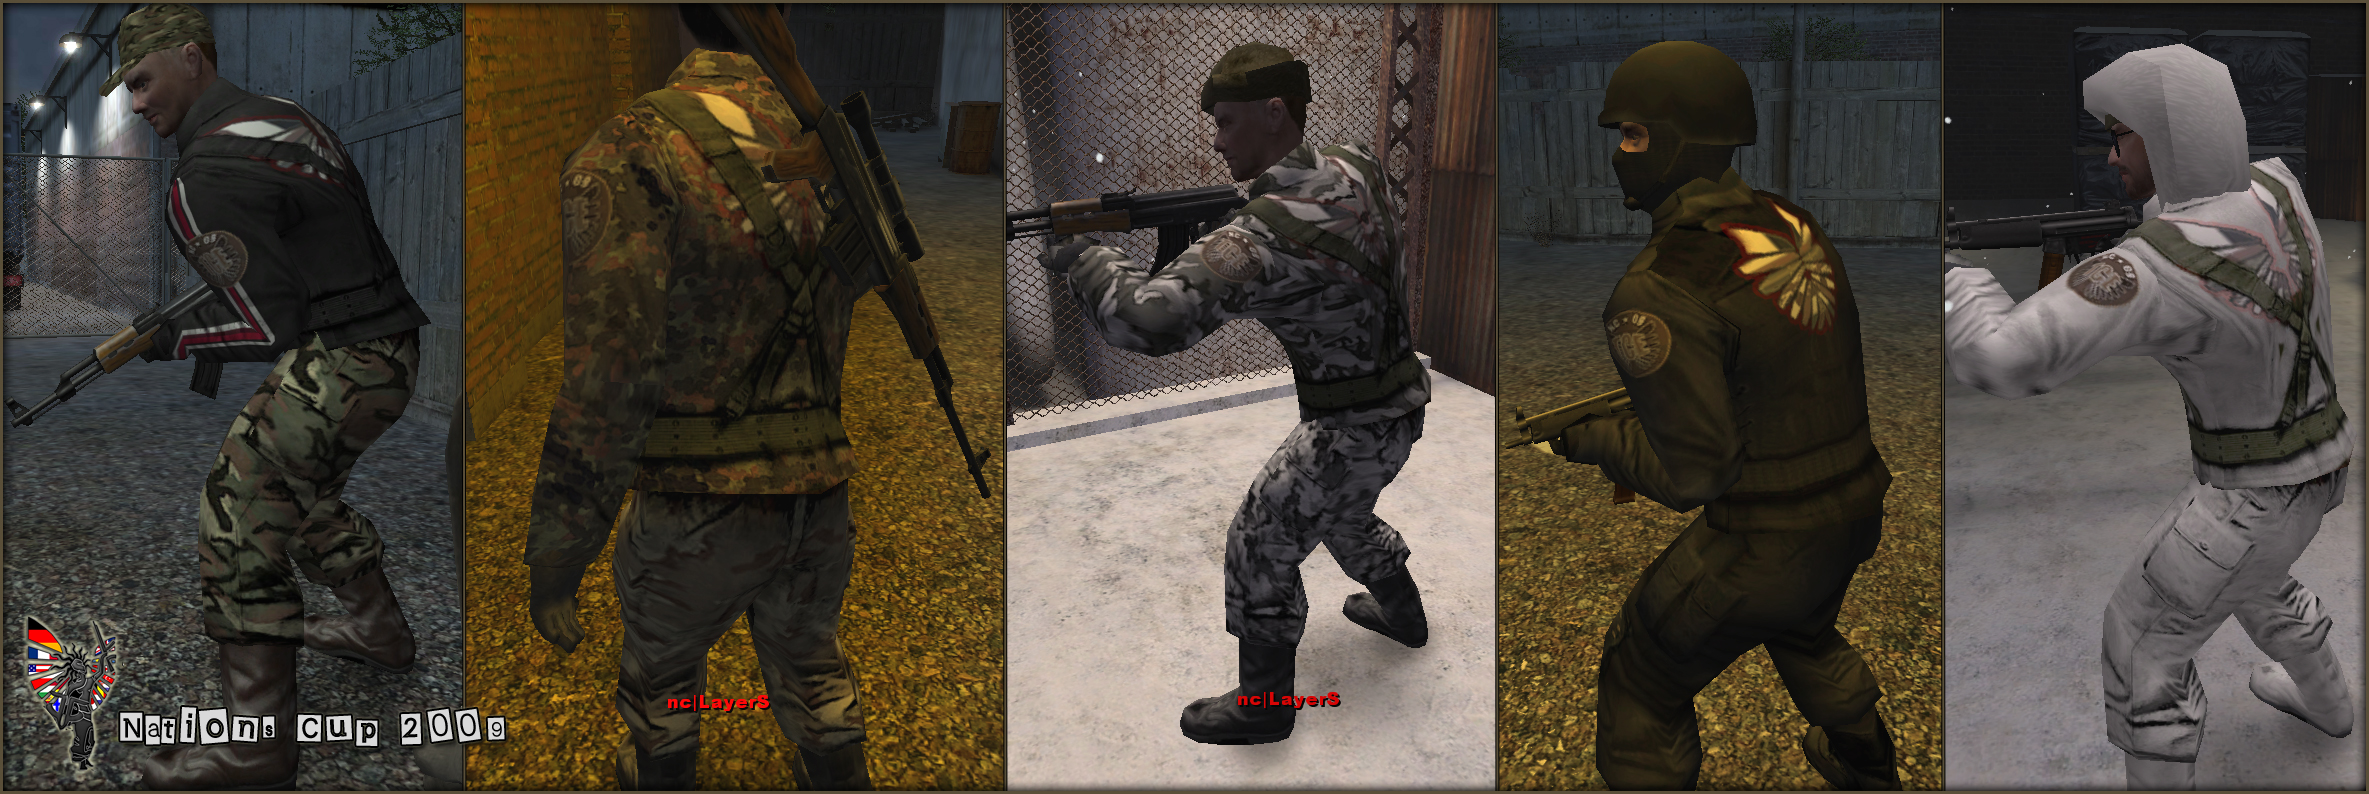
After considerating about the logo that would come on the skins the wings from the NC logo seemed like a good choice. To mark the year of the NC, a simple patch on the right arm worked.
(
Thanks to all NC admins for the feedback and ideas given.
Step 2: Finding the right files
In my opinion the most annoying part. So here I'll give you the directory to the players skins that are needed here.
C:\Program Files\Wolfenstein - Enemy Territory\tcetest\pak2.pk3
1st Map -> models -> players -> temperate -> axis -> elite
body_addidas.jpg
body_black.jpg
body_city.jpg
body_conj.jpg
body_flecktarn.jpg
body_ruwinter.jpg
body_stripes.jpg
2nd Map -> models -> players -> temperate -> allied -> elite
body_commando.tga
body_desert.jpg
body_snow.jpg
body_woodland.jpg
Copy these into a different map
Step 3: Editing the skins
I used photoshop for this, but I guess you can use any photo editing software for this. You can see the edited skins in the final .pk3
The toughest part is the scaling, blending in and positioning, the only advice I can give here is to go test these often ingame. (After you created the .pk3 that is.)
Step 4: Building the .pk3
The map structure inside the .pk3 should be the same as the one where you found the original skins in pak2.pk3
You can see the structure again in the final .pk3 file.
Final skin layout:
http://www.truecombatelite.com/nc/nc09/ ... -skins.jpg
Download the zzz_nc_09_player_skins_fixed here:
http://new1.flyupload.com/files/view/Thg8cMevz2N5IBkdZolU


